CSSスタイリング画像
CSSを使用して画像のスタイルを設定する方法を学びます。
丸みを帯びた画像
border-radiusプロパティを使用して、丸みを帯びた画像を作成します。

例
丸みを帯びた画像:
img {
border-radius: 8px;
}
例
丸で囲んだ画像:
img {
border-radius: 50%;
}
サムネイル画像
プロパティを使用borderしてサムネイル画像を作成します。
サムネイル画像:
例
img {
border: 1px solid #ddd;
border-radius: 4px;
padding: 5px;
width: 150px;
}
<img src="paris.jpg"
alt="Paris">
リンクとしてのサムネイル画像:

例
img {
border: 1px solid #ddd;
border-radius: 4px;
padding: 5px;
width: 150px;
}
img:hover {
box-shadow: 0 0
2px 1px rgba(0, 140, 186, 0.5);
}
<a href="paris.jpg">
<img src="paris.jpg" alt="Paris">
</a>
レスポンシブ画像
レスポンシブ画像は、画面のサイズに合わせて自動的に調整されます。
ブラウザウィンドウのサイズを変更して、効果を確認します。

必要に応じて画像を縮小したいが、元のサイズより大きくなるように拡大しない場合は、次を追加します。
例
img {
max-width: 100%;
height:
auto;
}
ヒント:レスポンシブWebデザインの詳細については、 CSSRWDチュートリアルをご覧ください。
画像を中央に配置
画像を中央に配置するには、左右の余白をに設定autoしてblock要素にします。
例
img {
display: block;
margin-left: auto;
margin-right: auto;
width: 50%;
}
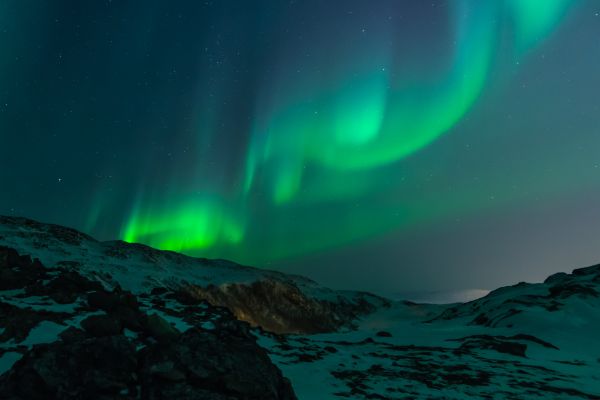
ポラロイド画像/カード
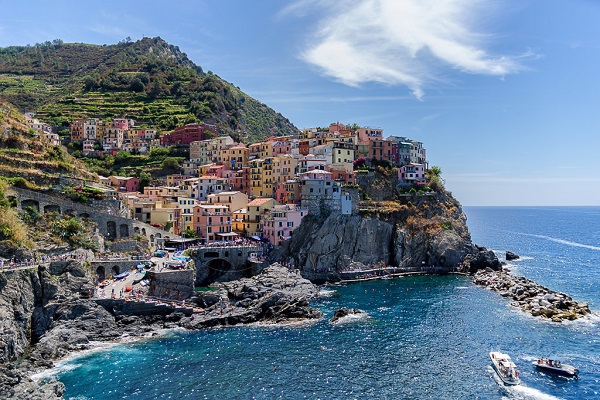
5つの土地

オーロラ
例
div.polaroid {
width: 80%;
background-color: white;
box-shadow: 0 4px 8px 0 rgba(0,
0, 0, 0.2), 0 6px 20px 0 rgba(0, 0, 0, 0.19);
}
img {width: 100%}
div.container {
text-align: center;
padding: 10px 20px;
}
透明画像
opacityプロパティは、0.0〜1.0の値を取ることができます。値が小さいほど、透明性が高くなります。
不透明度0.2
opacity 0.5
opacity 1
(default)
Example
img {
opacity: 0.5;
}
Image Text
How to position text in an image:
Example
Try it Yourself:
Image Filters
The CSS filter property adds visual effects (like blur and saturation) to an element.
Note: The filter property is not supported in Internet Explorer or Edge 12.
Example
Change the color of all images to black and white (100% gray):
img {
filter: grayscale(100%);
}
Tip: Go to our CSS filter Reference to learn more about CSS filters.
Image Hover Overlay
Create an overlay effect on hover:
Example
Fade in text:
Example
Fade in a box:
Example
Slide in (top):
Example
Slide in (bottom):
Example
Slide in (left):
Example
Slide in (right):
Flip an Image
Move your mouse over the image:
Example
img:hover {
transform: scaleX(-1);
}
Responsive Image Gallery
CSS can be used to create image galleries. This example use media queries to re-arrange the images on different screen sizes. Resize the browser window to see the effect:


Example
.responsive {
padding: 0 6px;
float: left;
width: 24.99999%;
}
@media only screen and
(max-width: 700px){
.responsive {
width: 49.99999%;
margin: 6px
0;
}
}
@media only screen and (max-width: 500px){
.responsive {
width: 100%;
}
}
Tip: Read more about Responsive Web Design in our CSS RWD Tutorial.
Image Modal (Advanced)
This is an example to demonstrate how CSS and JavaScript can work together.
First, use CSS to create a modal window (dialog box), and hide it by default.
Then, use a JavaScript to show the modal window and to display the image inside the modal, when a user clicks on the image:
Example
// Get the modal
var modal = document.getElementById('myModal');
// Get the image and insert it
inside the modal - use its "alt" text as a caption
var img =
document.getElementById('myImg');
var modalImg = document.getElementById("img01");
var captionText = document.getElementById("caption");
img.onclick =
function(){
modal.style.display = "block";
modalImg.src = this.src;
captionText.innerHTML = this.alt;
}
// Get the <span> element that closes the modal
var span =
document.getElementsByClassName("close")[0];
// When the user clicks
on <span> (x), close the modal
span.onclick = function() {
modal.style.display = "none";
}