ポートフォリオの作成方法
ポートフォリオは注目を集めるために不可欠です。
ポートフォリオを作成することは、オンラインでの存在感を高める良い方法です。
ポートフォリオは、スキルとプロジェクトを紹介するために使用されます。
それはあなたが仕事、フリーランサーのギグ、またはインターンシップを取得するのに役立ちます。
無料でポートフォリオを作成する»ポートフォリオとは
ポートフォリオは、CVと同じ目的を持つことができます。ほとんどのCVはテキストで書かれていますが、ポートフォリオは展示用であるため、画像で視覚的に表示され、多くの場合CVよりも詳細です。
それはあなたがあなたの仕事の経験を示し、あなたが最も誇りに思っているプロジェクトを紹介することができる場所です。
あなたのオンラインポートフォリオは、企業、採用マネージャー、採用担当者へのリンクと共有できるため、彼らはあなたに気付くことができます。
それは、あなたがプロとして誰であるかを他の人に示し、理解させることです。
ポートフォリオを作成する理由
それはあなたのオンラインプレゼンスを成長させ、注目を集めるための素晴らしい方法です。
それは仕事を得るためにまたはあなたのサービスに顧客を引き付けるために使用することができます。
それをウェブサイトとしてオンラインにする。世界中の人々があなたを見つけることを可能にします。
ポロフォリオのデザインは、読者にあなたが誰であるかの印象を与えます。それが見栄えの良い方法で表示されることを確認してください!
のポートフォリオは誰ですか
ポートフォリオの作成は、あなたのキャリアにとって重要な場合があります。
仕事を探したり、フリーランスのギグをしたり、新しいクライアントに向けて自分のスキルを披露したりするときに役立ちます。
ポートフォリオを使用する一般的な役割は、次のような専門家ですが、これらに限定されません。
- ソフトウェア開発者
- UXデザイナー
- グラフィックデザイナー
- 写真家
- マーケティングの専門家
- アーキテクツ
- 作家
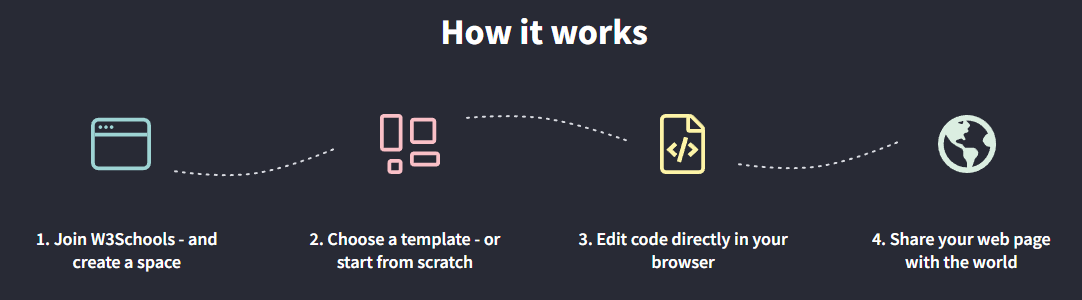
W3Schools Spacesについて聞いたことがありますか?ここでは、ポートフォリオを最初から作成するか、テンプレートを使用して、無料でホストできます。
無料で始めましょう❯*クレジットカードは必要ありません
ポートフォリオの中で最も重要なセクションは何ですか
ポートフォリオを作成するには、さまざまな方法があります。
それを作成する方法は、あなたがどのタイプの専門家であるか、誰のためにそれを構築しているのか、そしてなぜあなたがそれを作成しているのかによって異なります。
あなたはテストし、失敗し、あなたにぴったりのポートフォリオのタイプを見つけることを学ぶ必要があります!
以下に要約するように、すべてのタイプのポートフォリオに不可欠ないくつかのセクションがあります。
1.ヒーローセクション。
ヒーローセクションは、人々があなたのポートフォリオに入ったときに最初に目にするものです。
ロゴとメニューの下に表示されます。
ヒーローセクションは、読者があなたが提供するもの、誰かがあなたと一緒に働く必要がある理由、そしてあなたがあなたのサービスで提供する価値を理解するのに役立ちます。
多くの場合、「連絡する」、「会議を予約する」などの召喚状ボタンが含まれています。
2.自己紹介セクション。
読者にあなた自身についての短い要約を与えてください。
あなたの教育、仕事の経験、プロジェクトや興味などの主題を含めてください。
読者があなたが情熱を注いでいることとあなたの超大国(あなたが本当に得意なこと)を理解するのを手伝ってください。
短くシンプルにすることを忘れないでください。
3.プロジェクトセクション。
取り組んだプロジェクトを一覧表示します。最もよく使用される方法は、リストを日付順に並べ替えることですが、場合によっては、別の論理的な方法で並べ替えることが理にかなっています。
各プロジェクトに、自分の役割、何をしたか、プロジェクトがどのように行われたかなどの詳細を追加します。
あなたが作ったものを紹介するために写真を追加することはプラスです!あなたが誇りに思っていることを紹介してください。
4.私に連絡するセクション。
読者に、どこでどのように連絡を取ることができるかを知らせてください。
連絡先の詳細と、GitHubプロファイル、LinkedIn、Youtubeなどの他の連絡先チャネルを追加します。
ポートフォリオの例
いくつかのポートフォリオの例を確認してください。
ポートフォリオテンプレートは、W3SchoolsSpacesにロードできます。数回のクリックでポートフォリオの公開を開始します。
ポートフォリオを無料で公開❯*クレジットカードは必要ありません
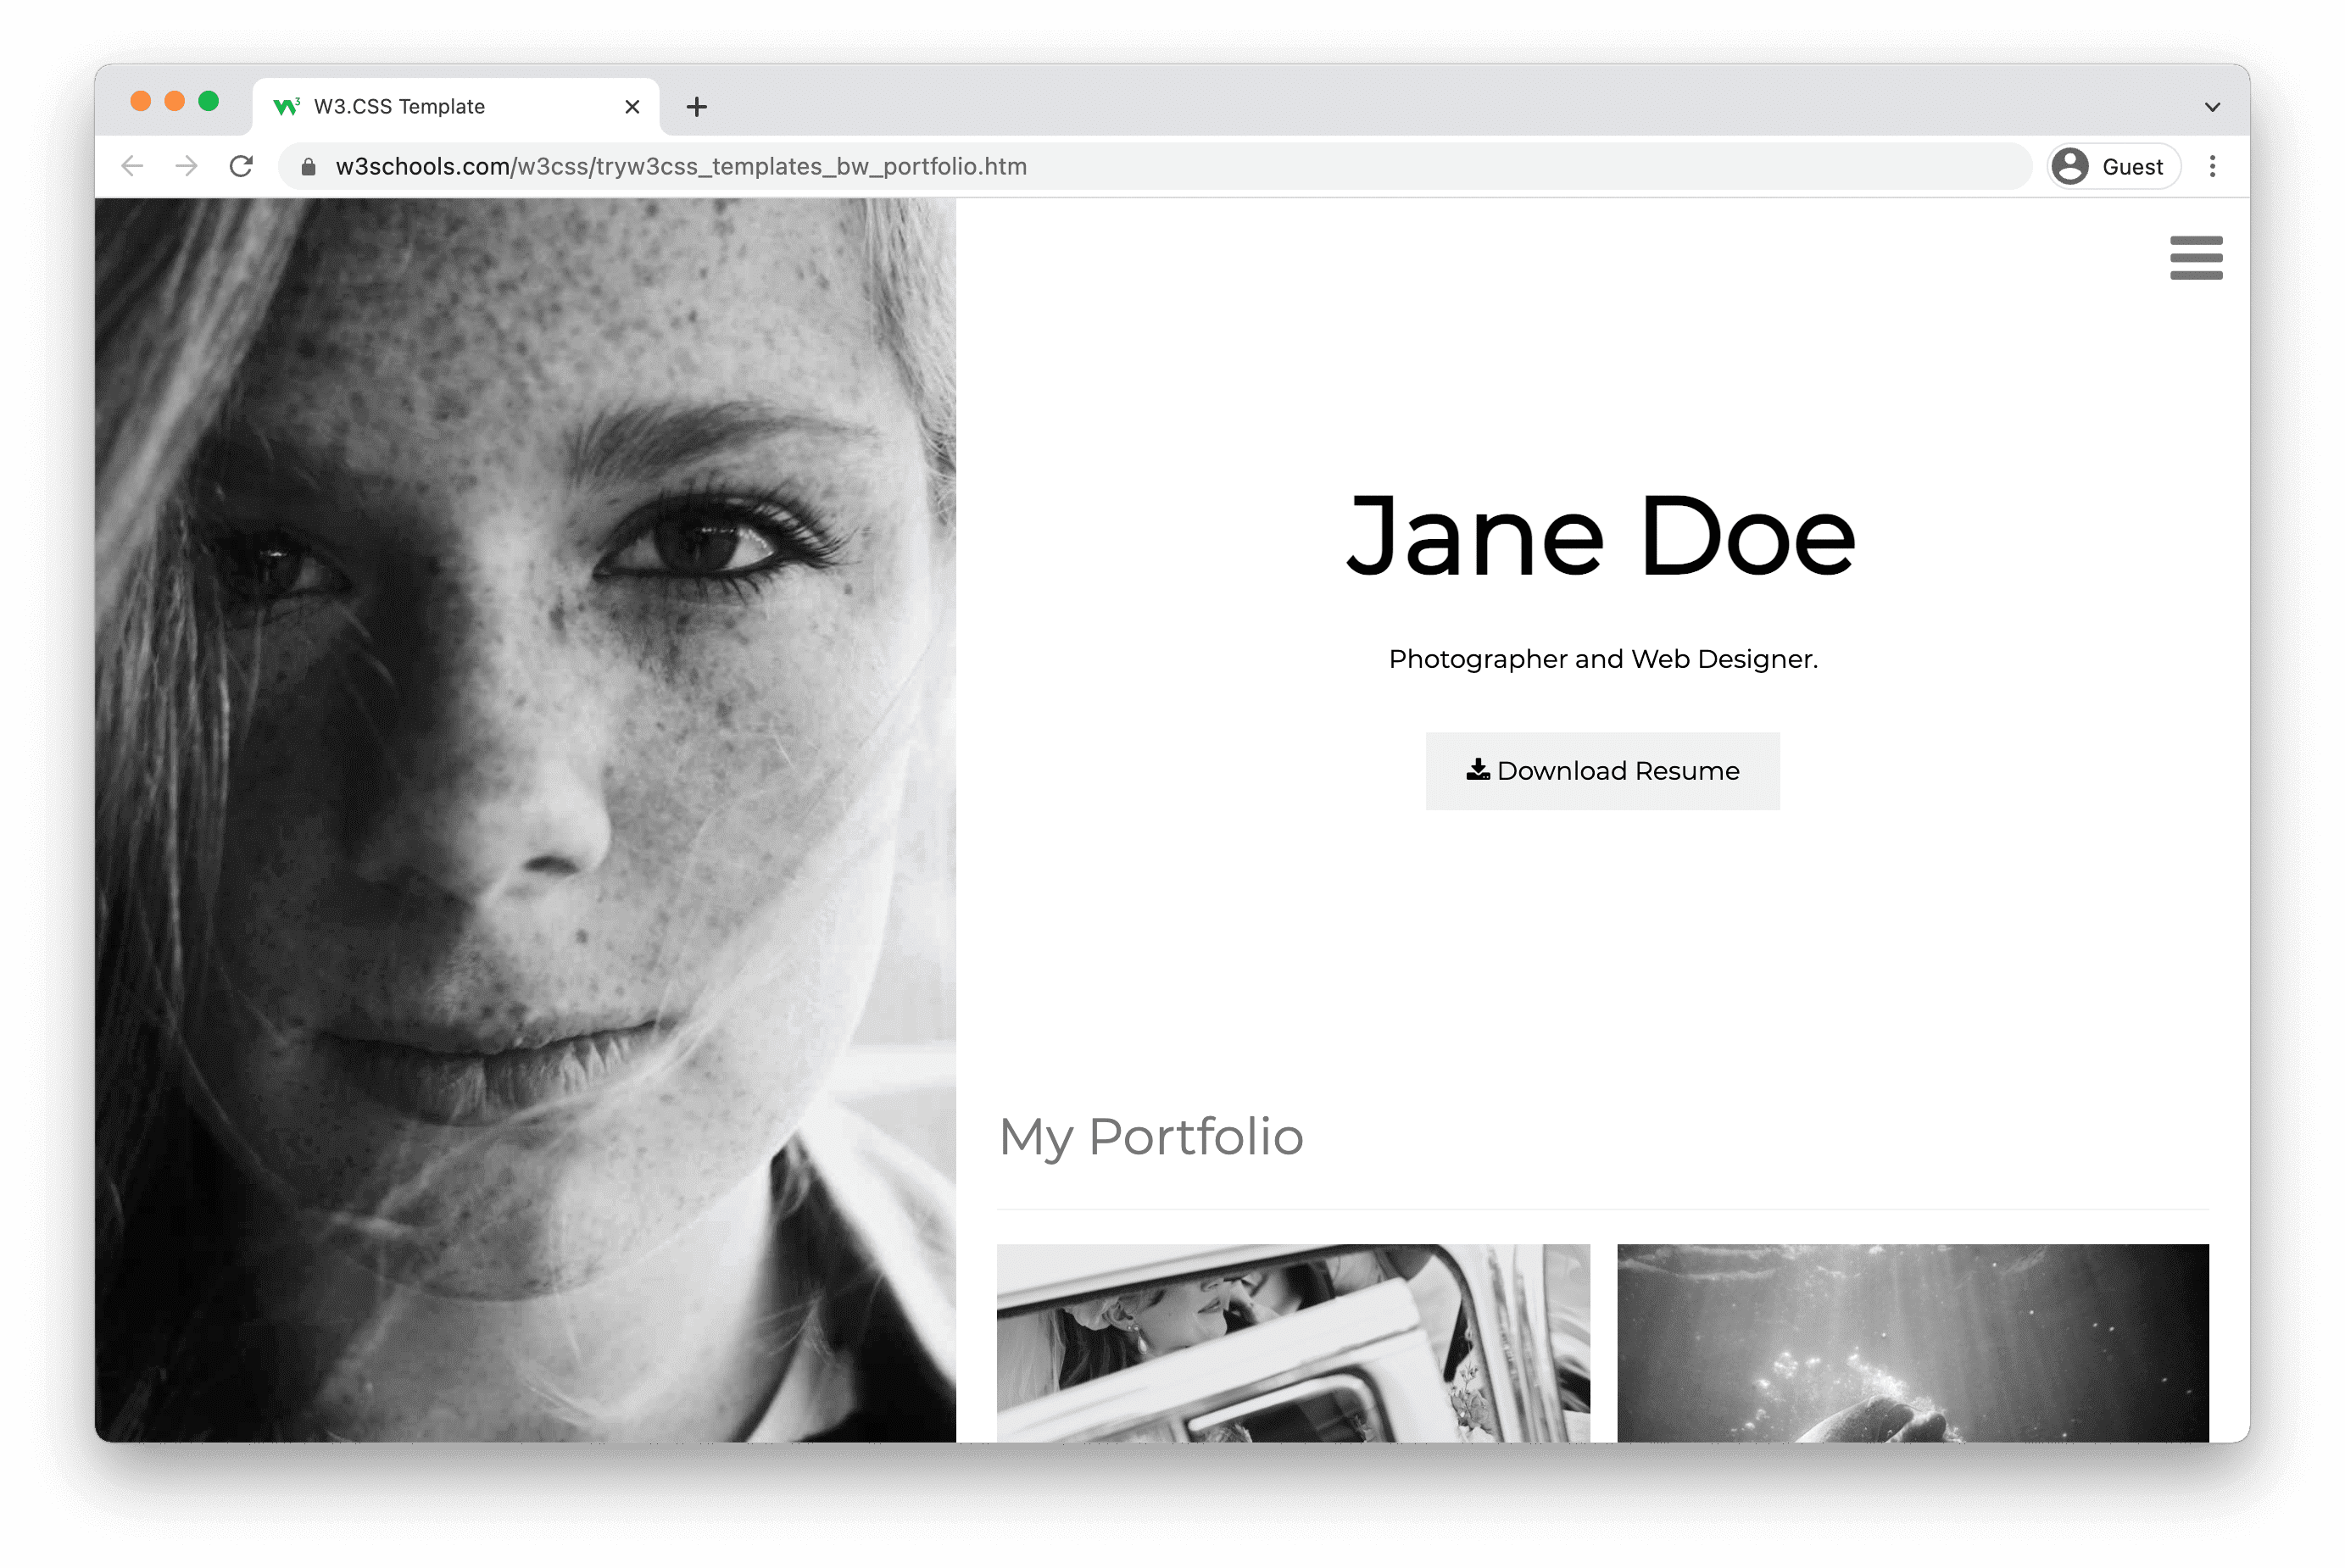
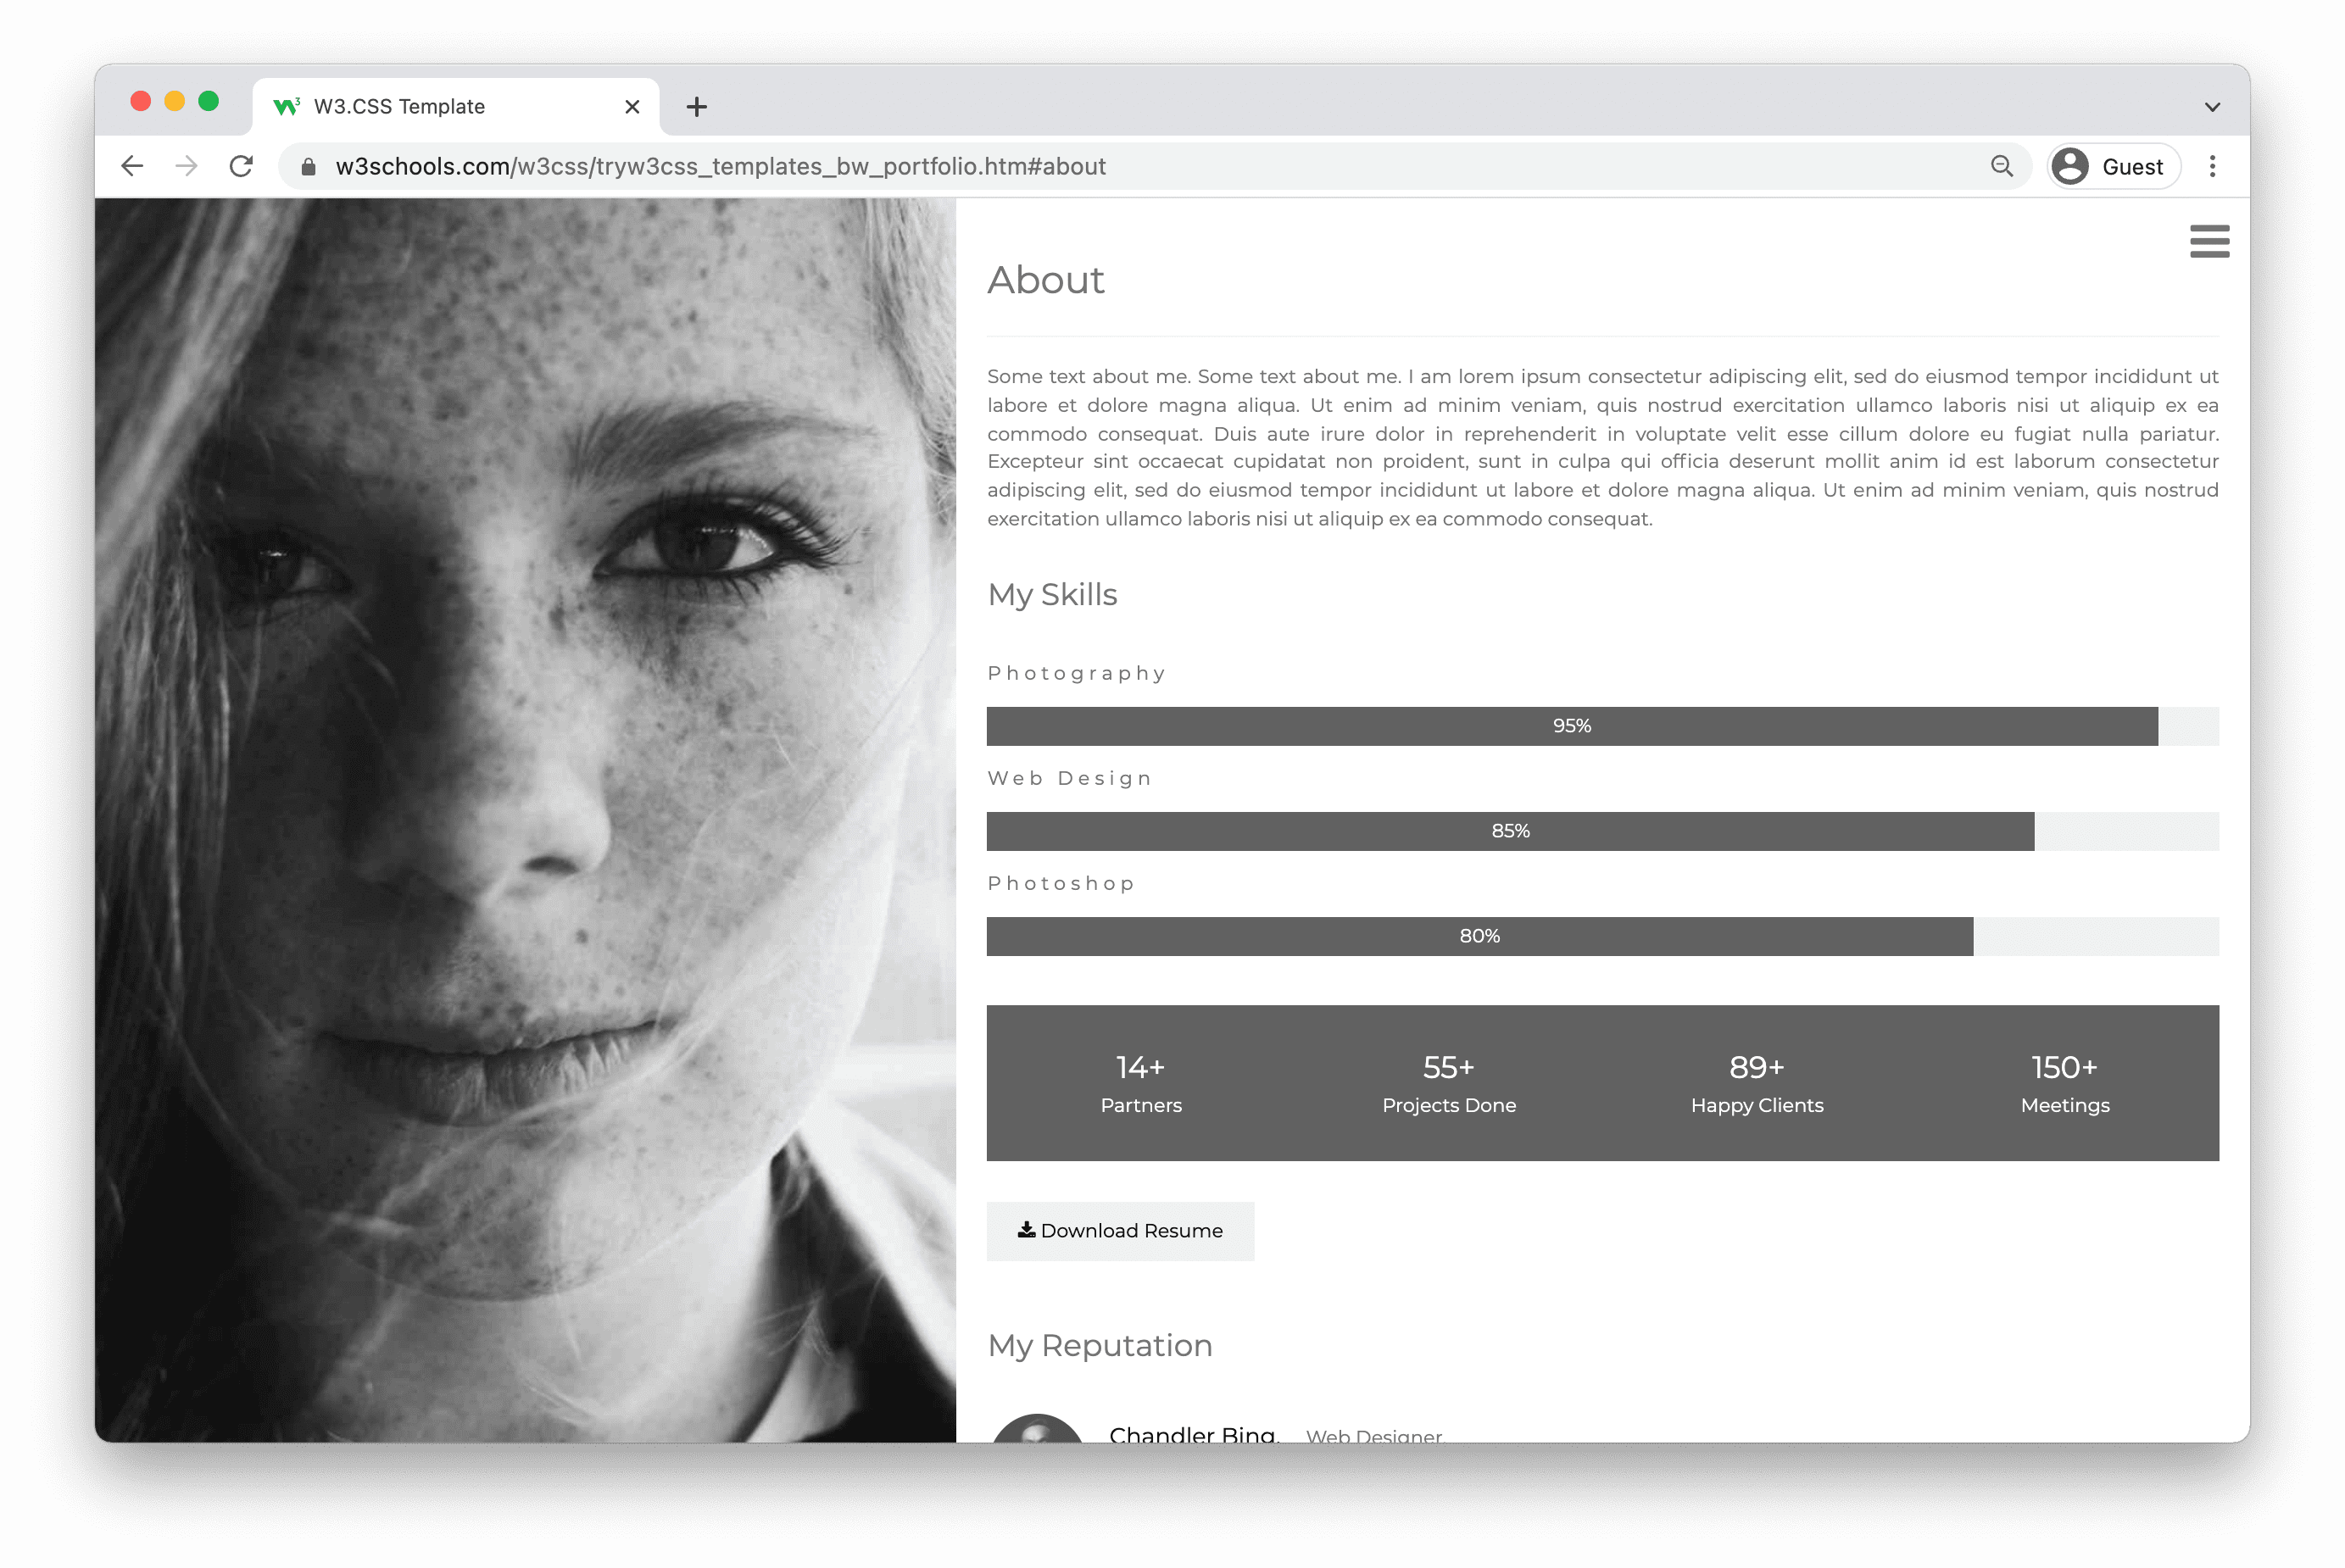
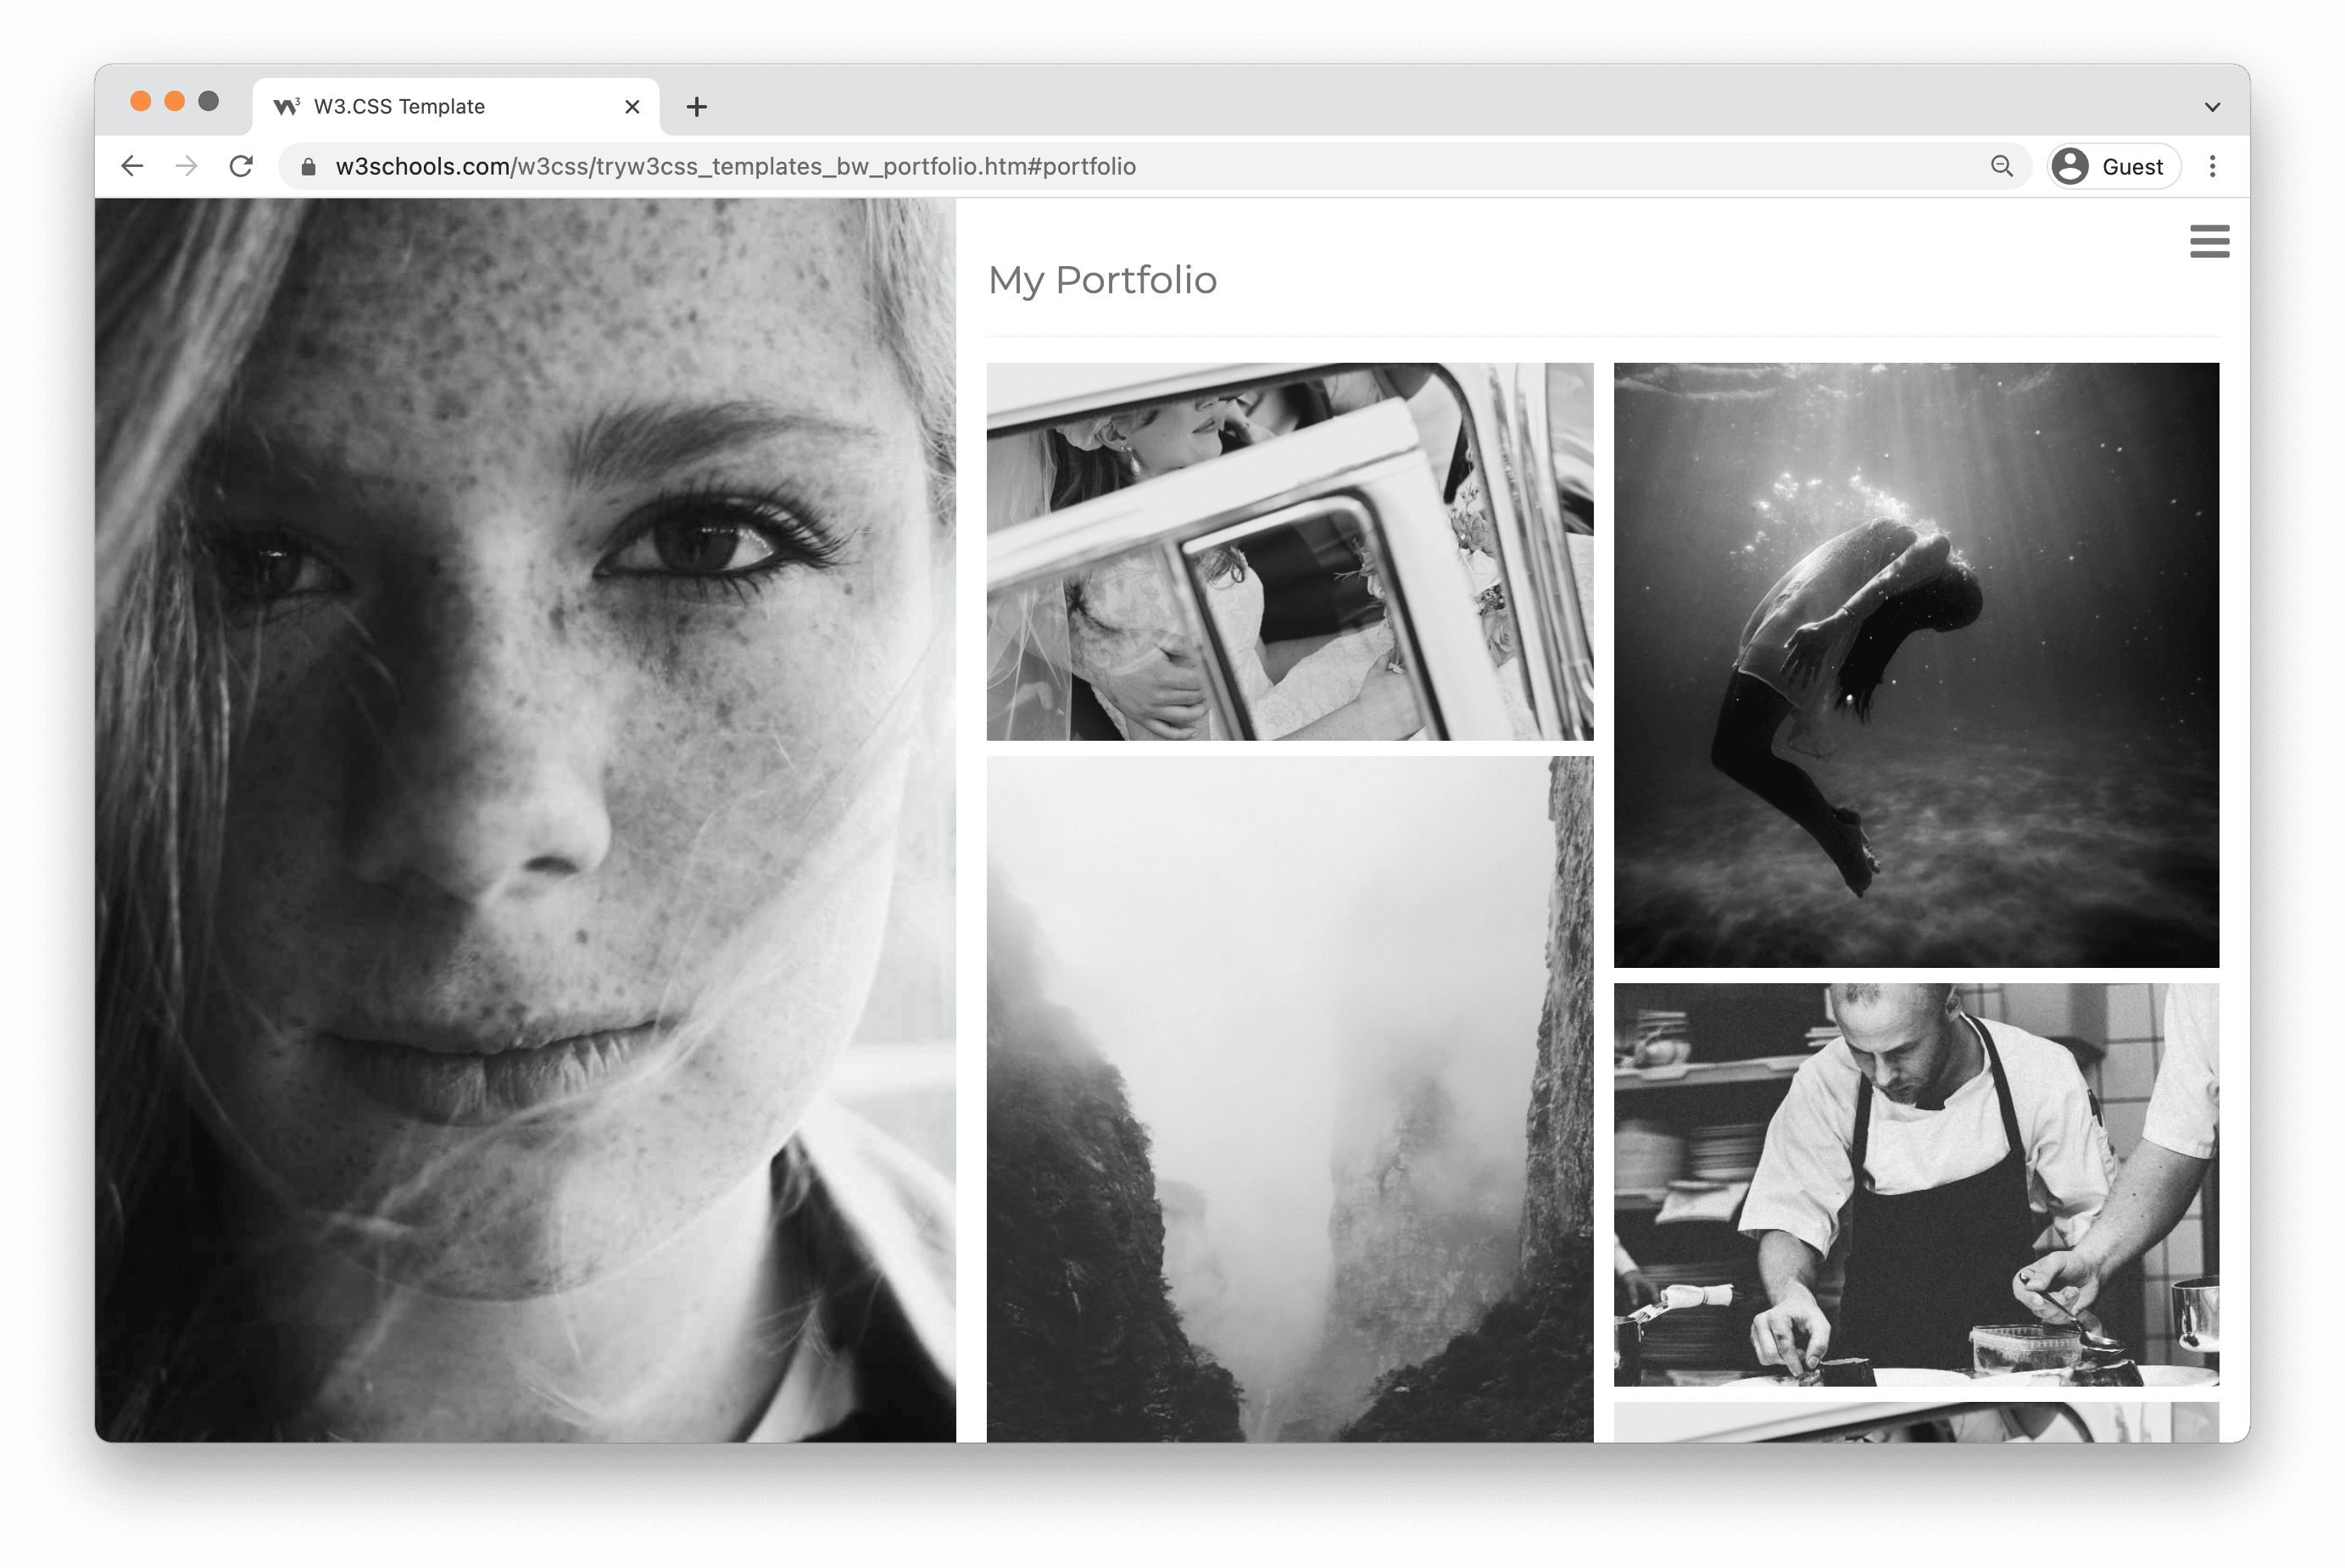
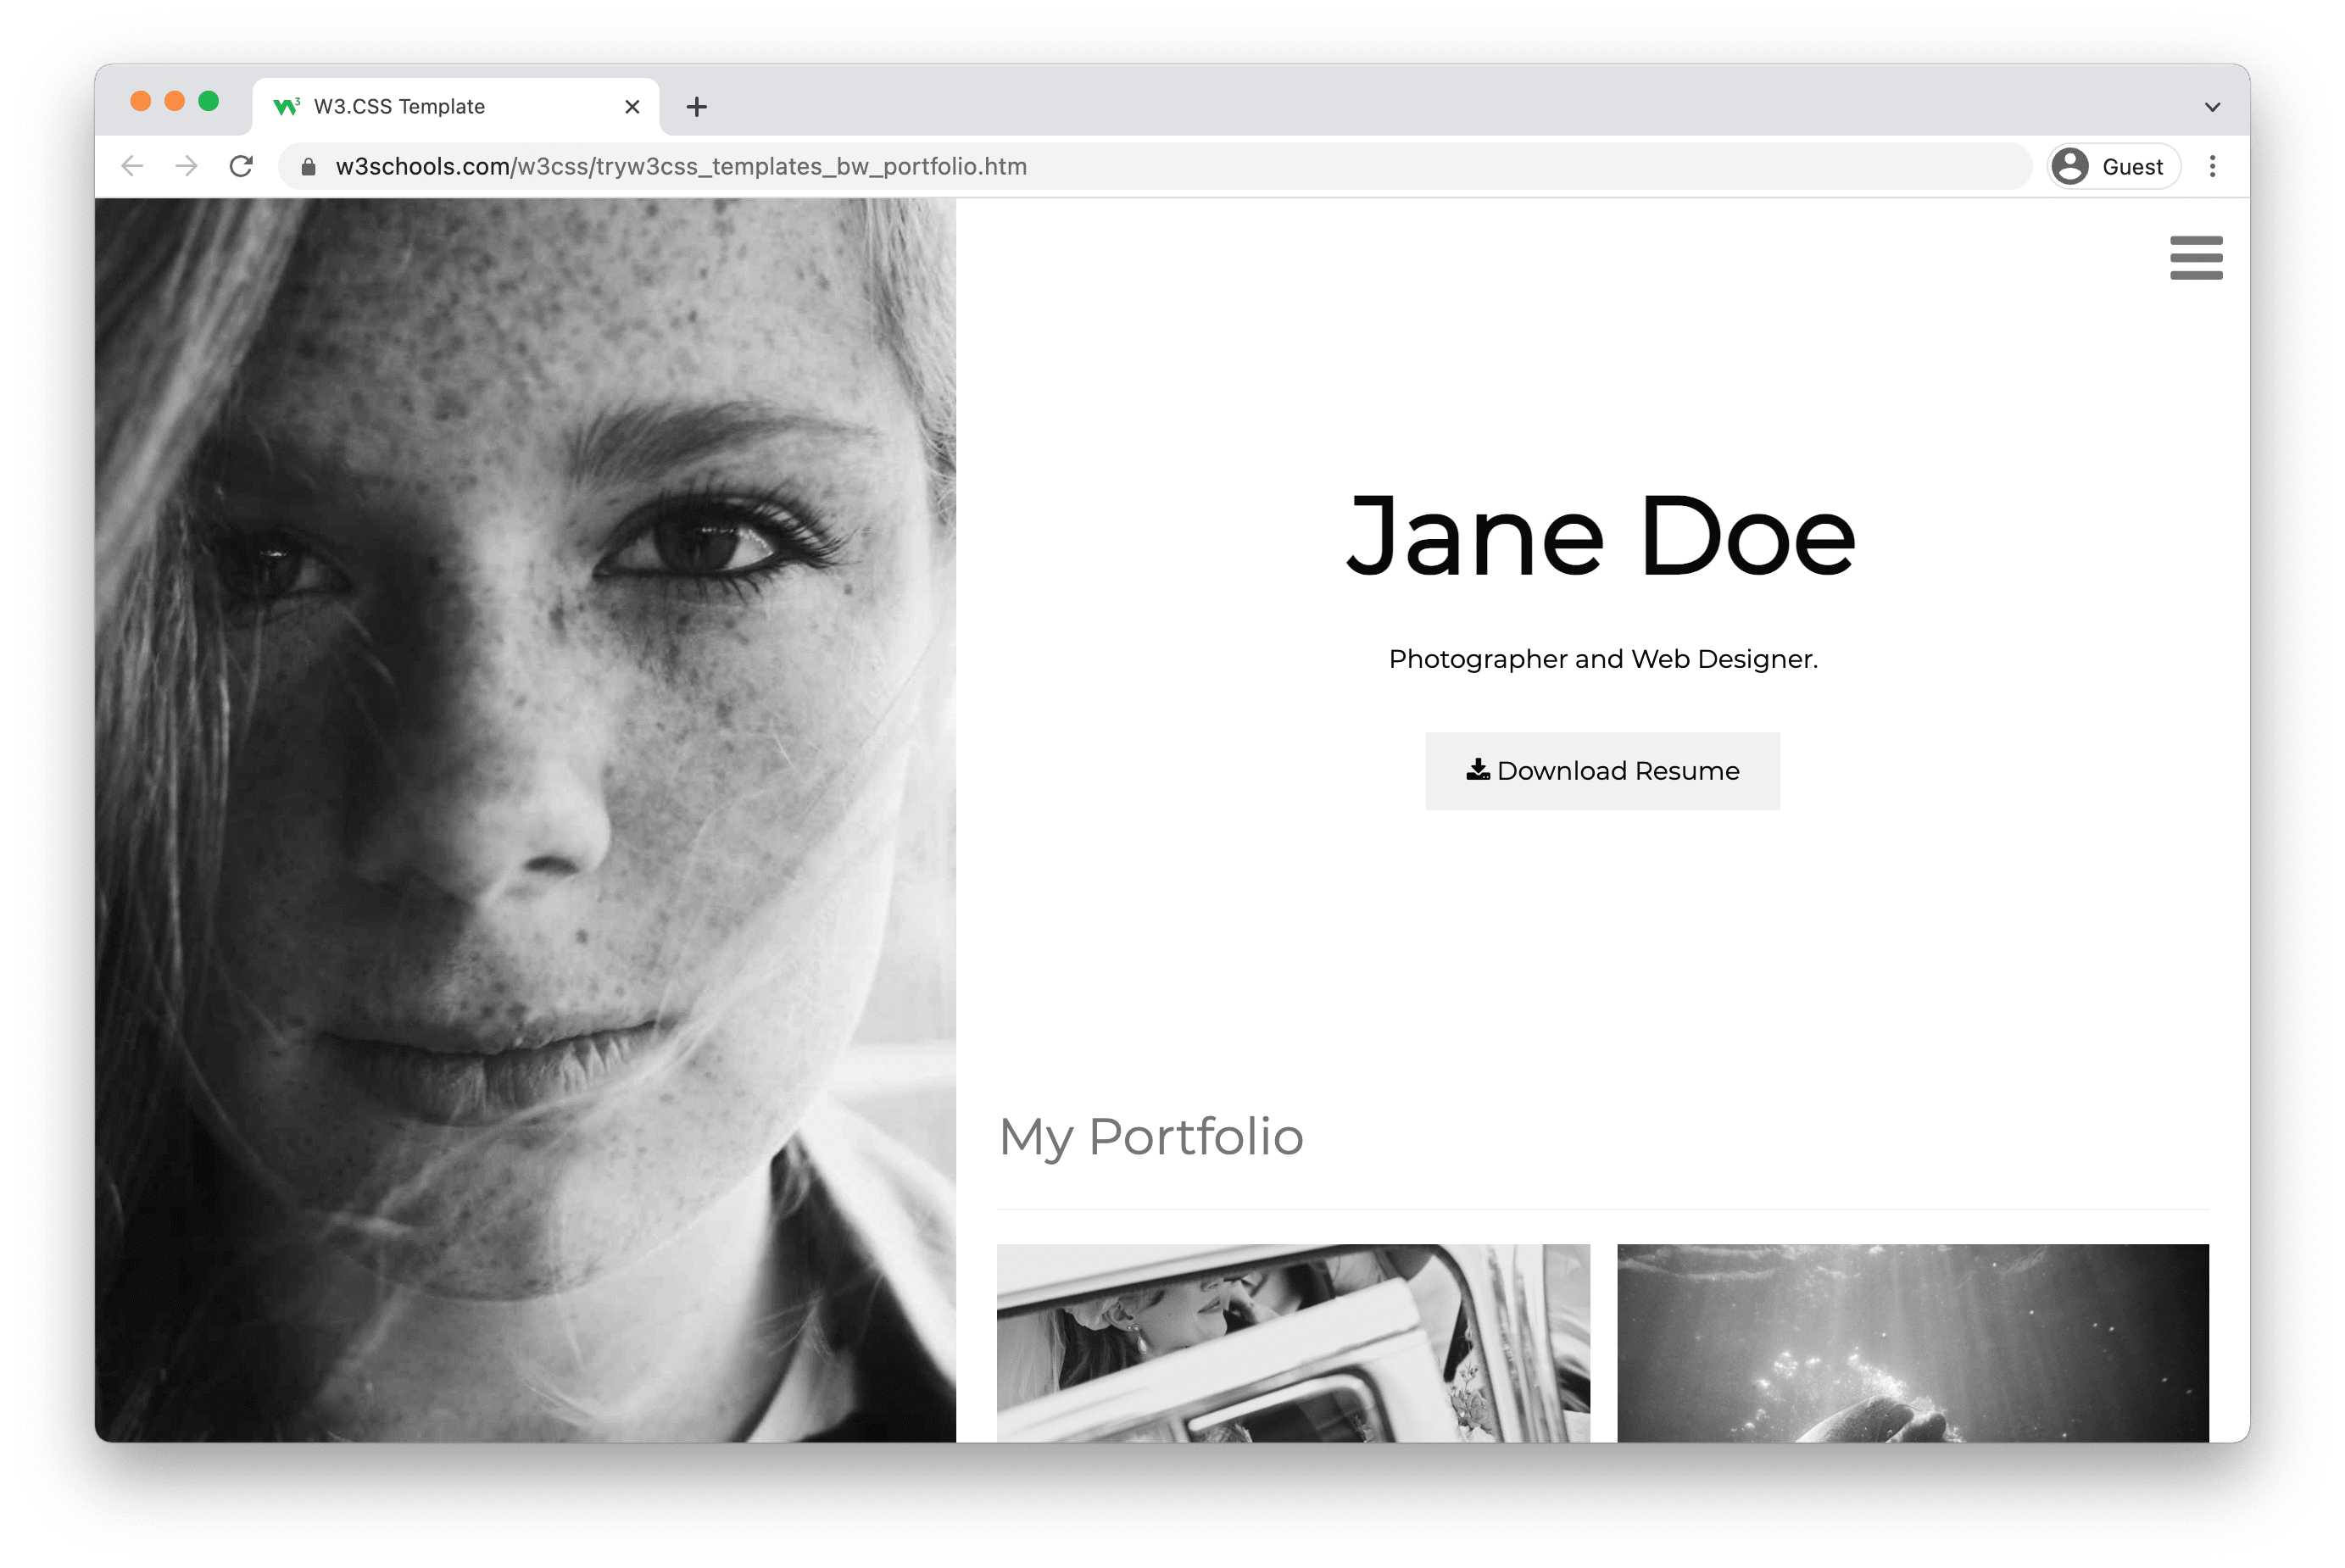
黒と白のポートフォリオテンプレート
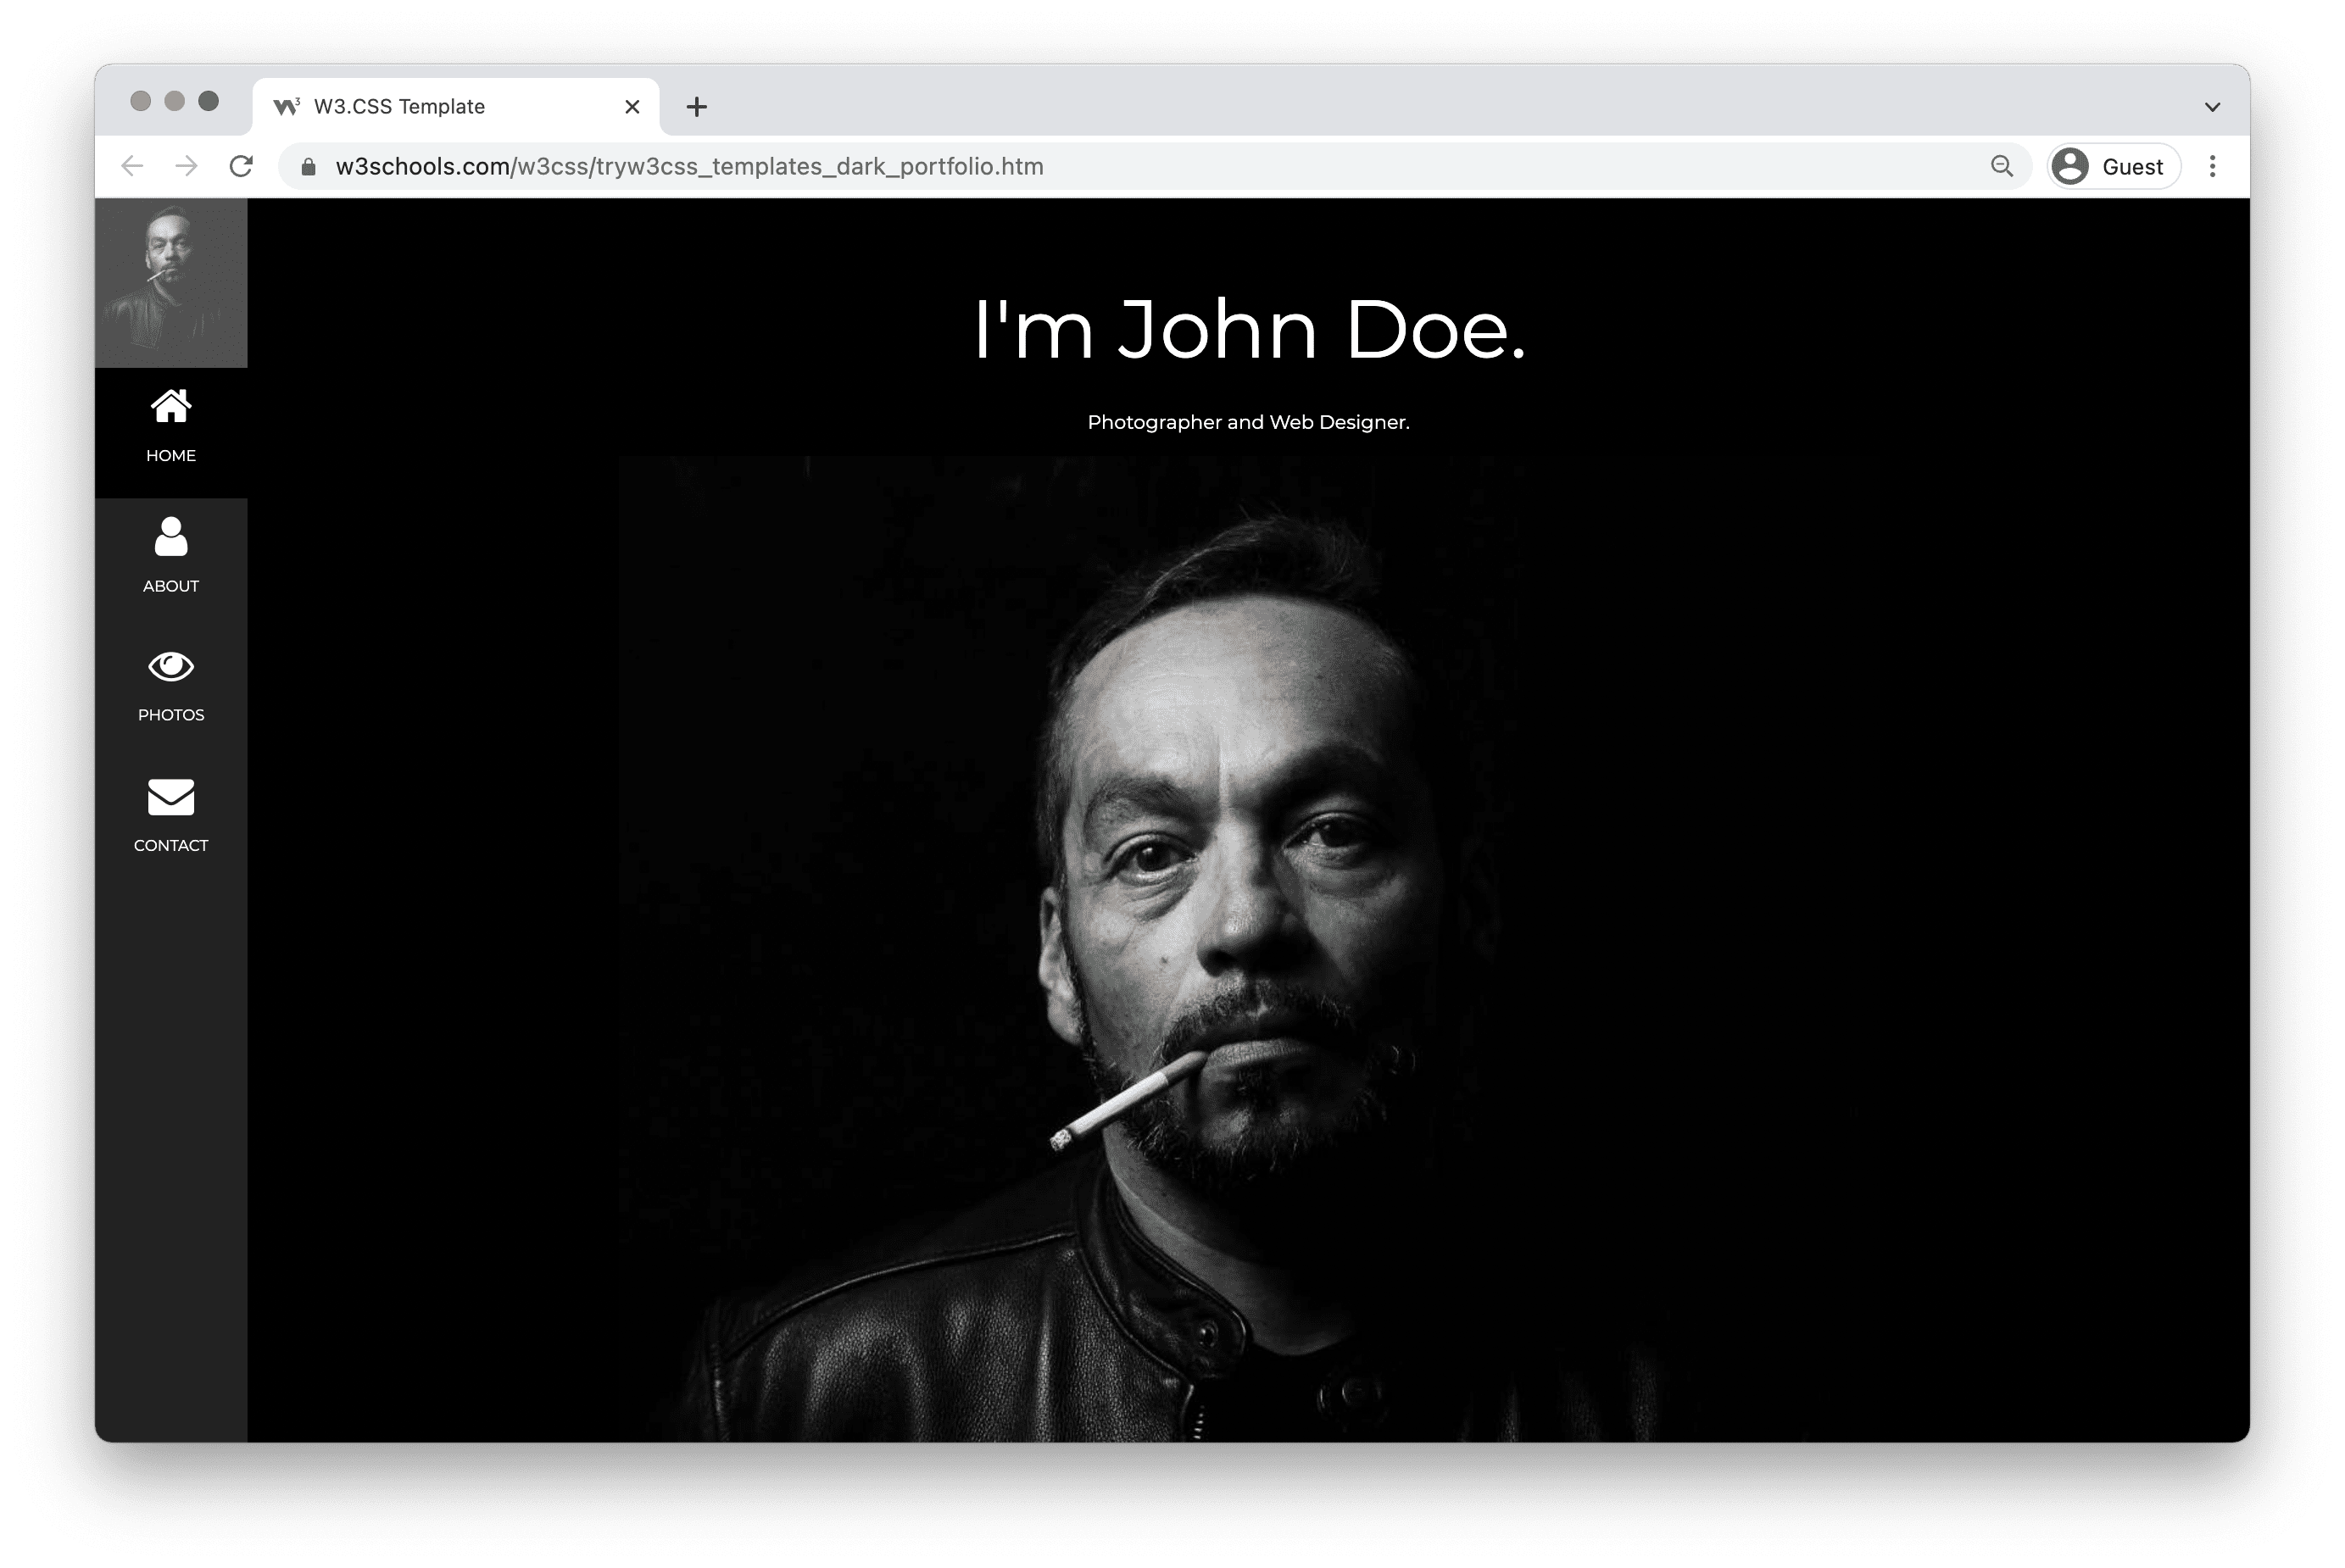
Dark Portfolio Template
People Portfolio

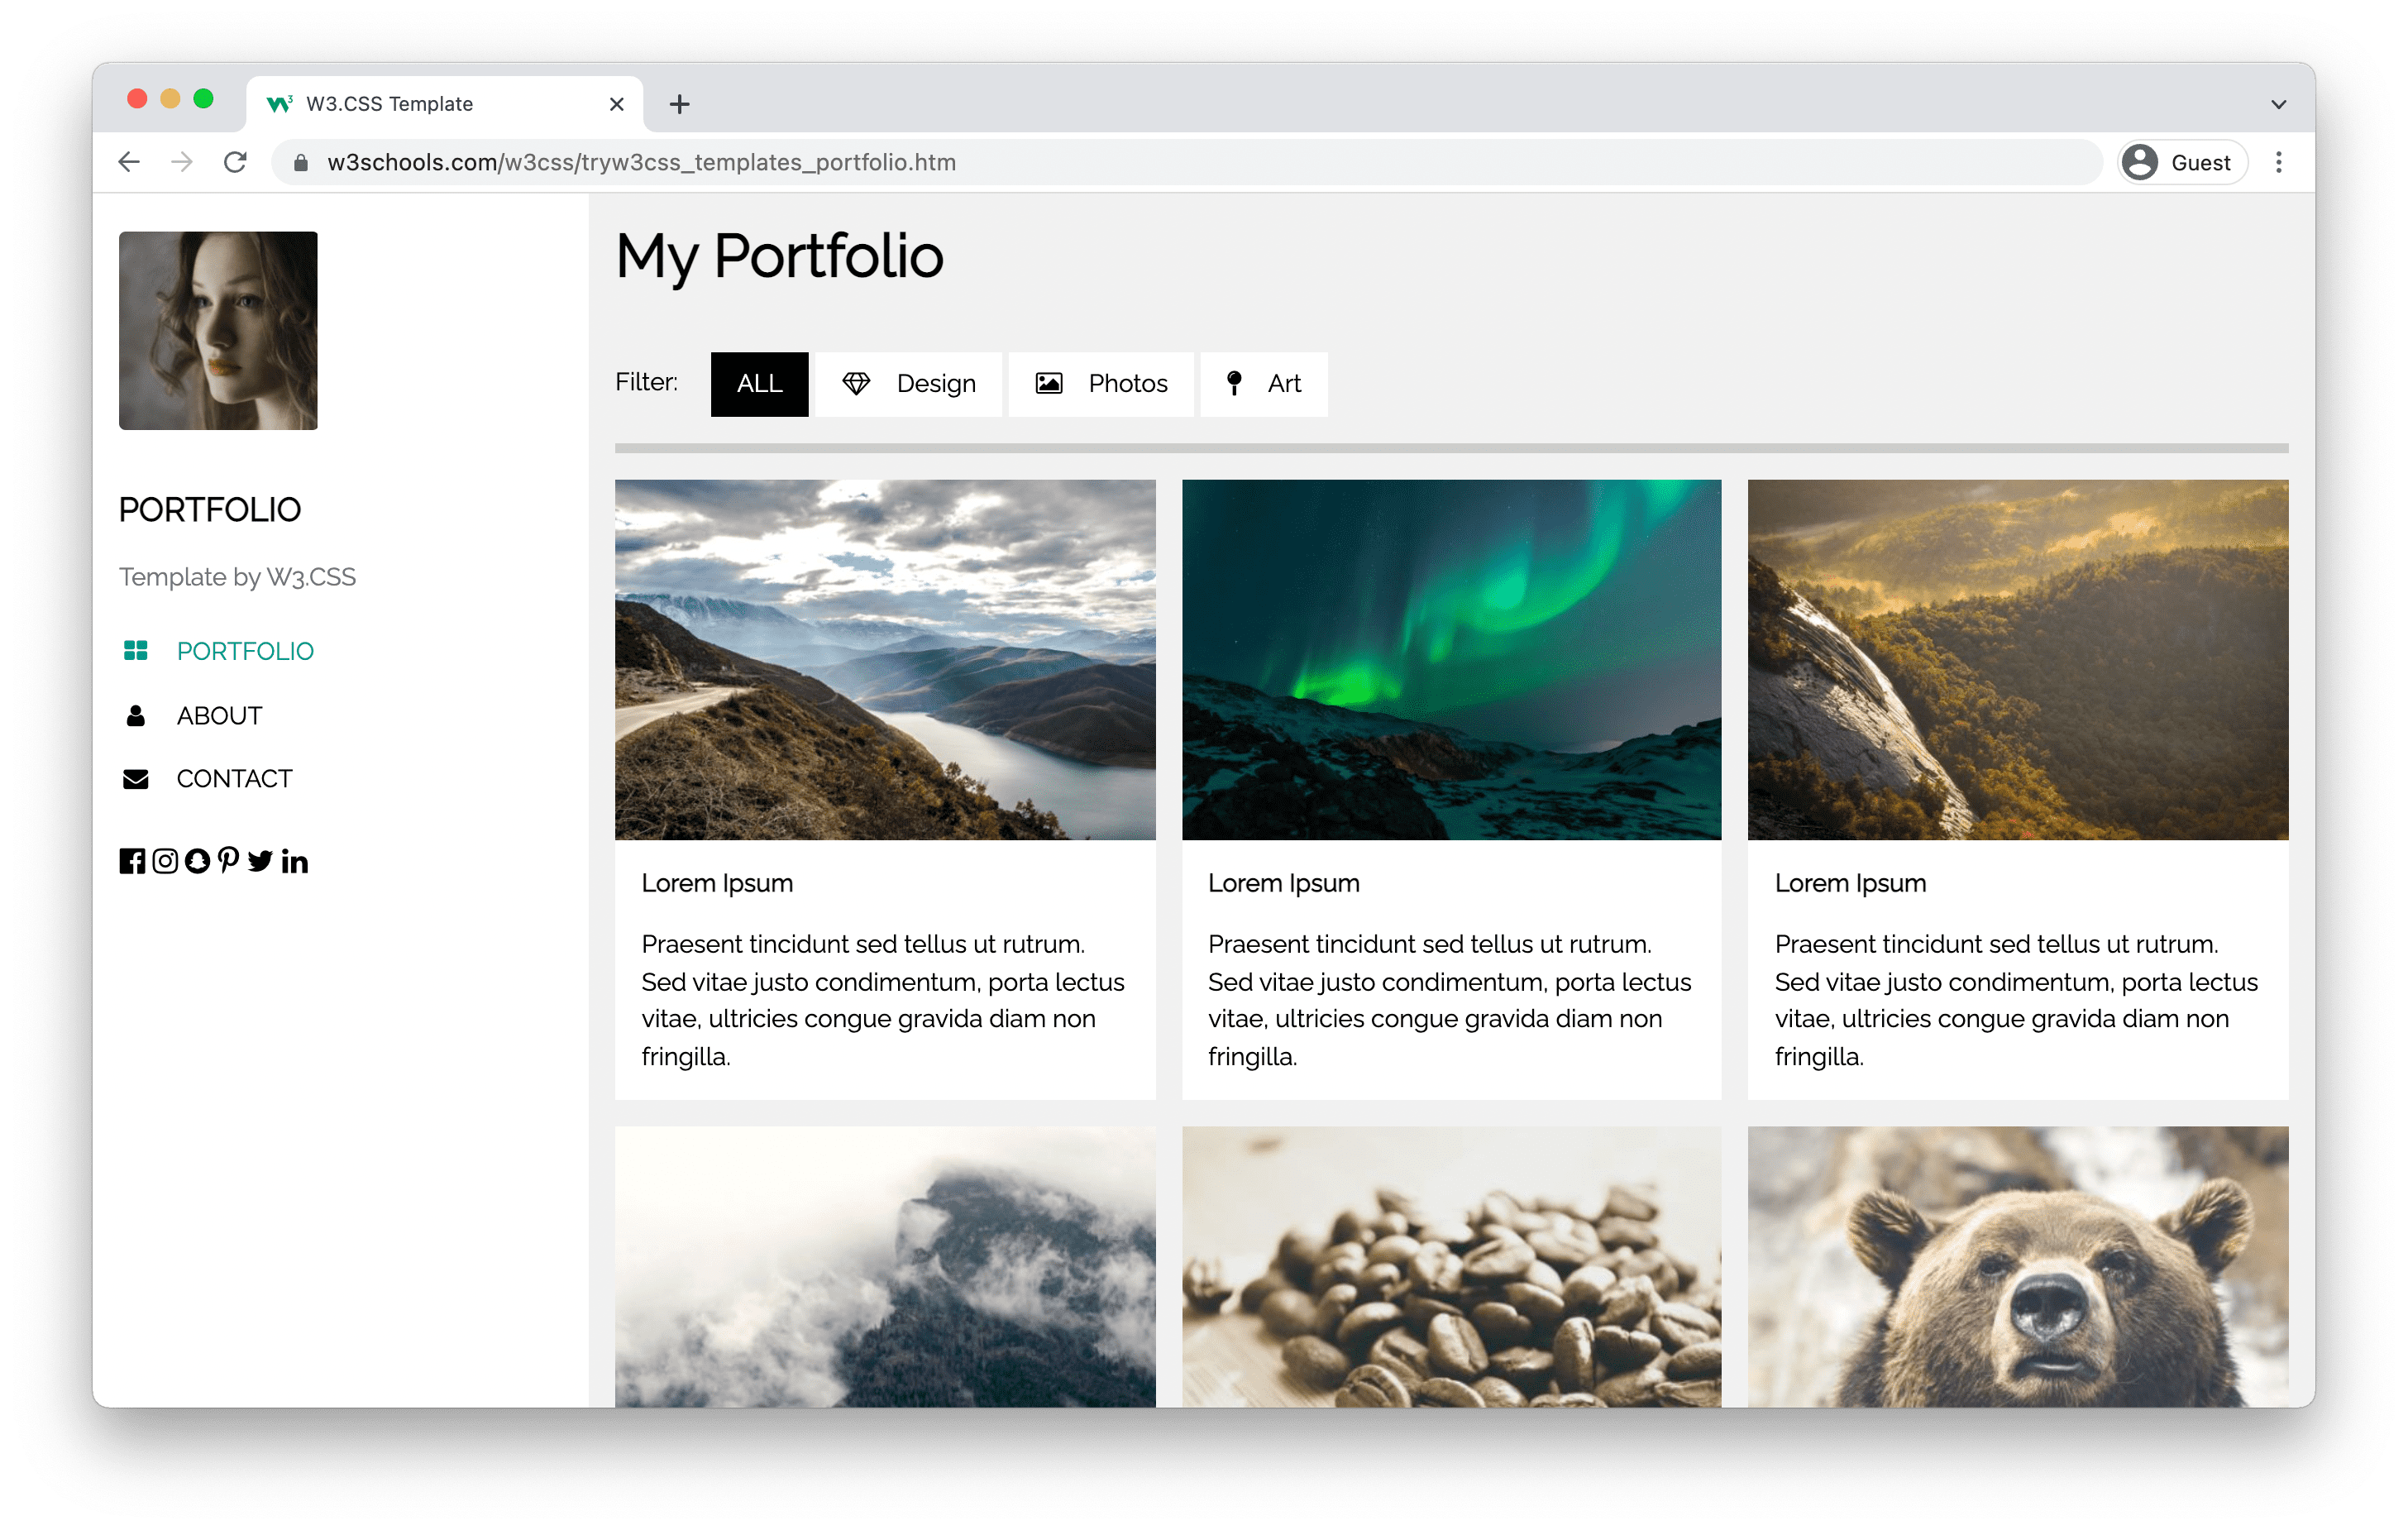
My Portfolio Template
What do I need to know to create my own portfolio?
HTML, CSS and JavaScript are the foundational languages to create a website.
You can come a long way just using these three!
- Create the structure with HTML. The first thing you have to learn, is HTML, which is the standard markup language for creating web pages. Learn HTML ❯
- Style with CSS. The next step is to learn CSS, to set the layout of your web page with beautiful colors, fonts, and much more. Learn CSS ❯
- Make it interactive with JavaScript. After studying HTML and CSS, you should learn JavaScript to create dynamic and interactive web pages for your users. Learn JavaScript ❯
How to create a portfolio step-by-step
Follow the steps to create your portfolio from the ground up.
Preparations
Decide which code editor to use and set up your environment.
W3Schools has created an easy to use code editor called W3Schools Spaces. Sign up and get started in a few clicks.
Start for free ❯Create your index.html file. So that you are ready to enter the code.
All set up. Lets go!
Step One: Add HTML Skeleton
Type an HTML skeleton code, which is the starting point for your website. It is the structure which holds the code and ensures that it is properly displayed on the internet.
Read here for how to create a basic HTML Skeleton: How to create a HTML Skeleton
Step Two: Add Navigation Bar
The navigation bar is a short representation of the content on the website.
It is one of the first things that a visitor will see.
It helps the visitors to find and navigate through the content on website. It is important to create well-structured navigation. So that your visitors can find what they are looking for.
Here is an example of how to create a top navigation bar: How to create a Top Navigation Bar
Step Three: Add Hero section
The Hero section, together with the navigation bar, is the first section of your portfolio that people will see.
It should contain short information about several things such as:
- Who are you?
- What do you offer?
- What is your profession?
- Why should people work with you?
- Which actions should you take?
Write in first-person and keep it short and simple.
Additional things preferred in the hero section are:
- Eye-catching graphics, either as a background or side-by-side with the text.
- An action button that leads to content on your portfolio or to the content of another website.
Here is an example on how to create a Hero section: How to create a Hero image
Step Four: Add About Me section
In this section, you can get creative. This can help you to to stand out.
Here you can personalize the content and write about yourself more in-depth.
The content you can include in this section is:
- Your introduction
- Who are you as a professional
- Your education
- Your skills
- Your work experience (present and/or past)
- Your hobbies
- Your goals and ambitions
In a way, you can consider the "About me" section as a short summary of your CV.
Feel free to write about yourself in first person.
Personalization and making people understand you as a person might bring you more attention.
Here is an example on how to create an about me section: How to create an About Me section
Step Five: Add Work Experience section
The work experience section highlights the experience, knowledge, and competence that you have made along your way.
Here you can add:
- Links to your projects with the project name and/or short description of what the project is about.
- Links to blog posts that you have written with title and/or short description about what it is about.
- Your professional awards or achievements.
- Highlighting your work and your accomplishments is a way to create opportunities for yourself.
- Visual representations such as images or graphics.
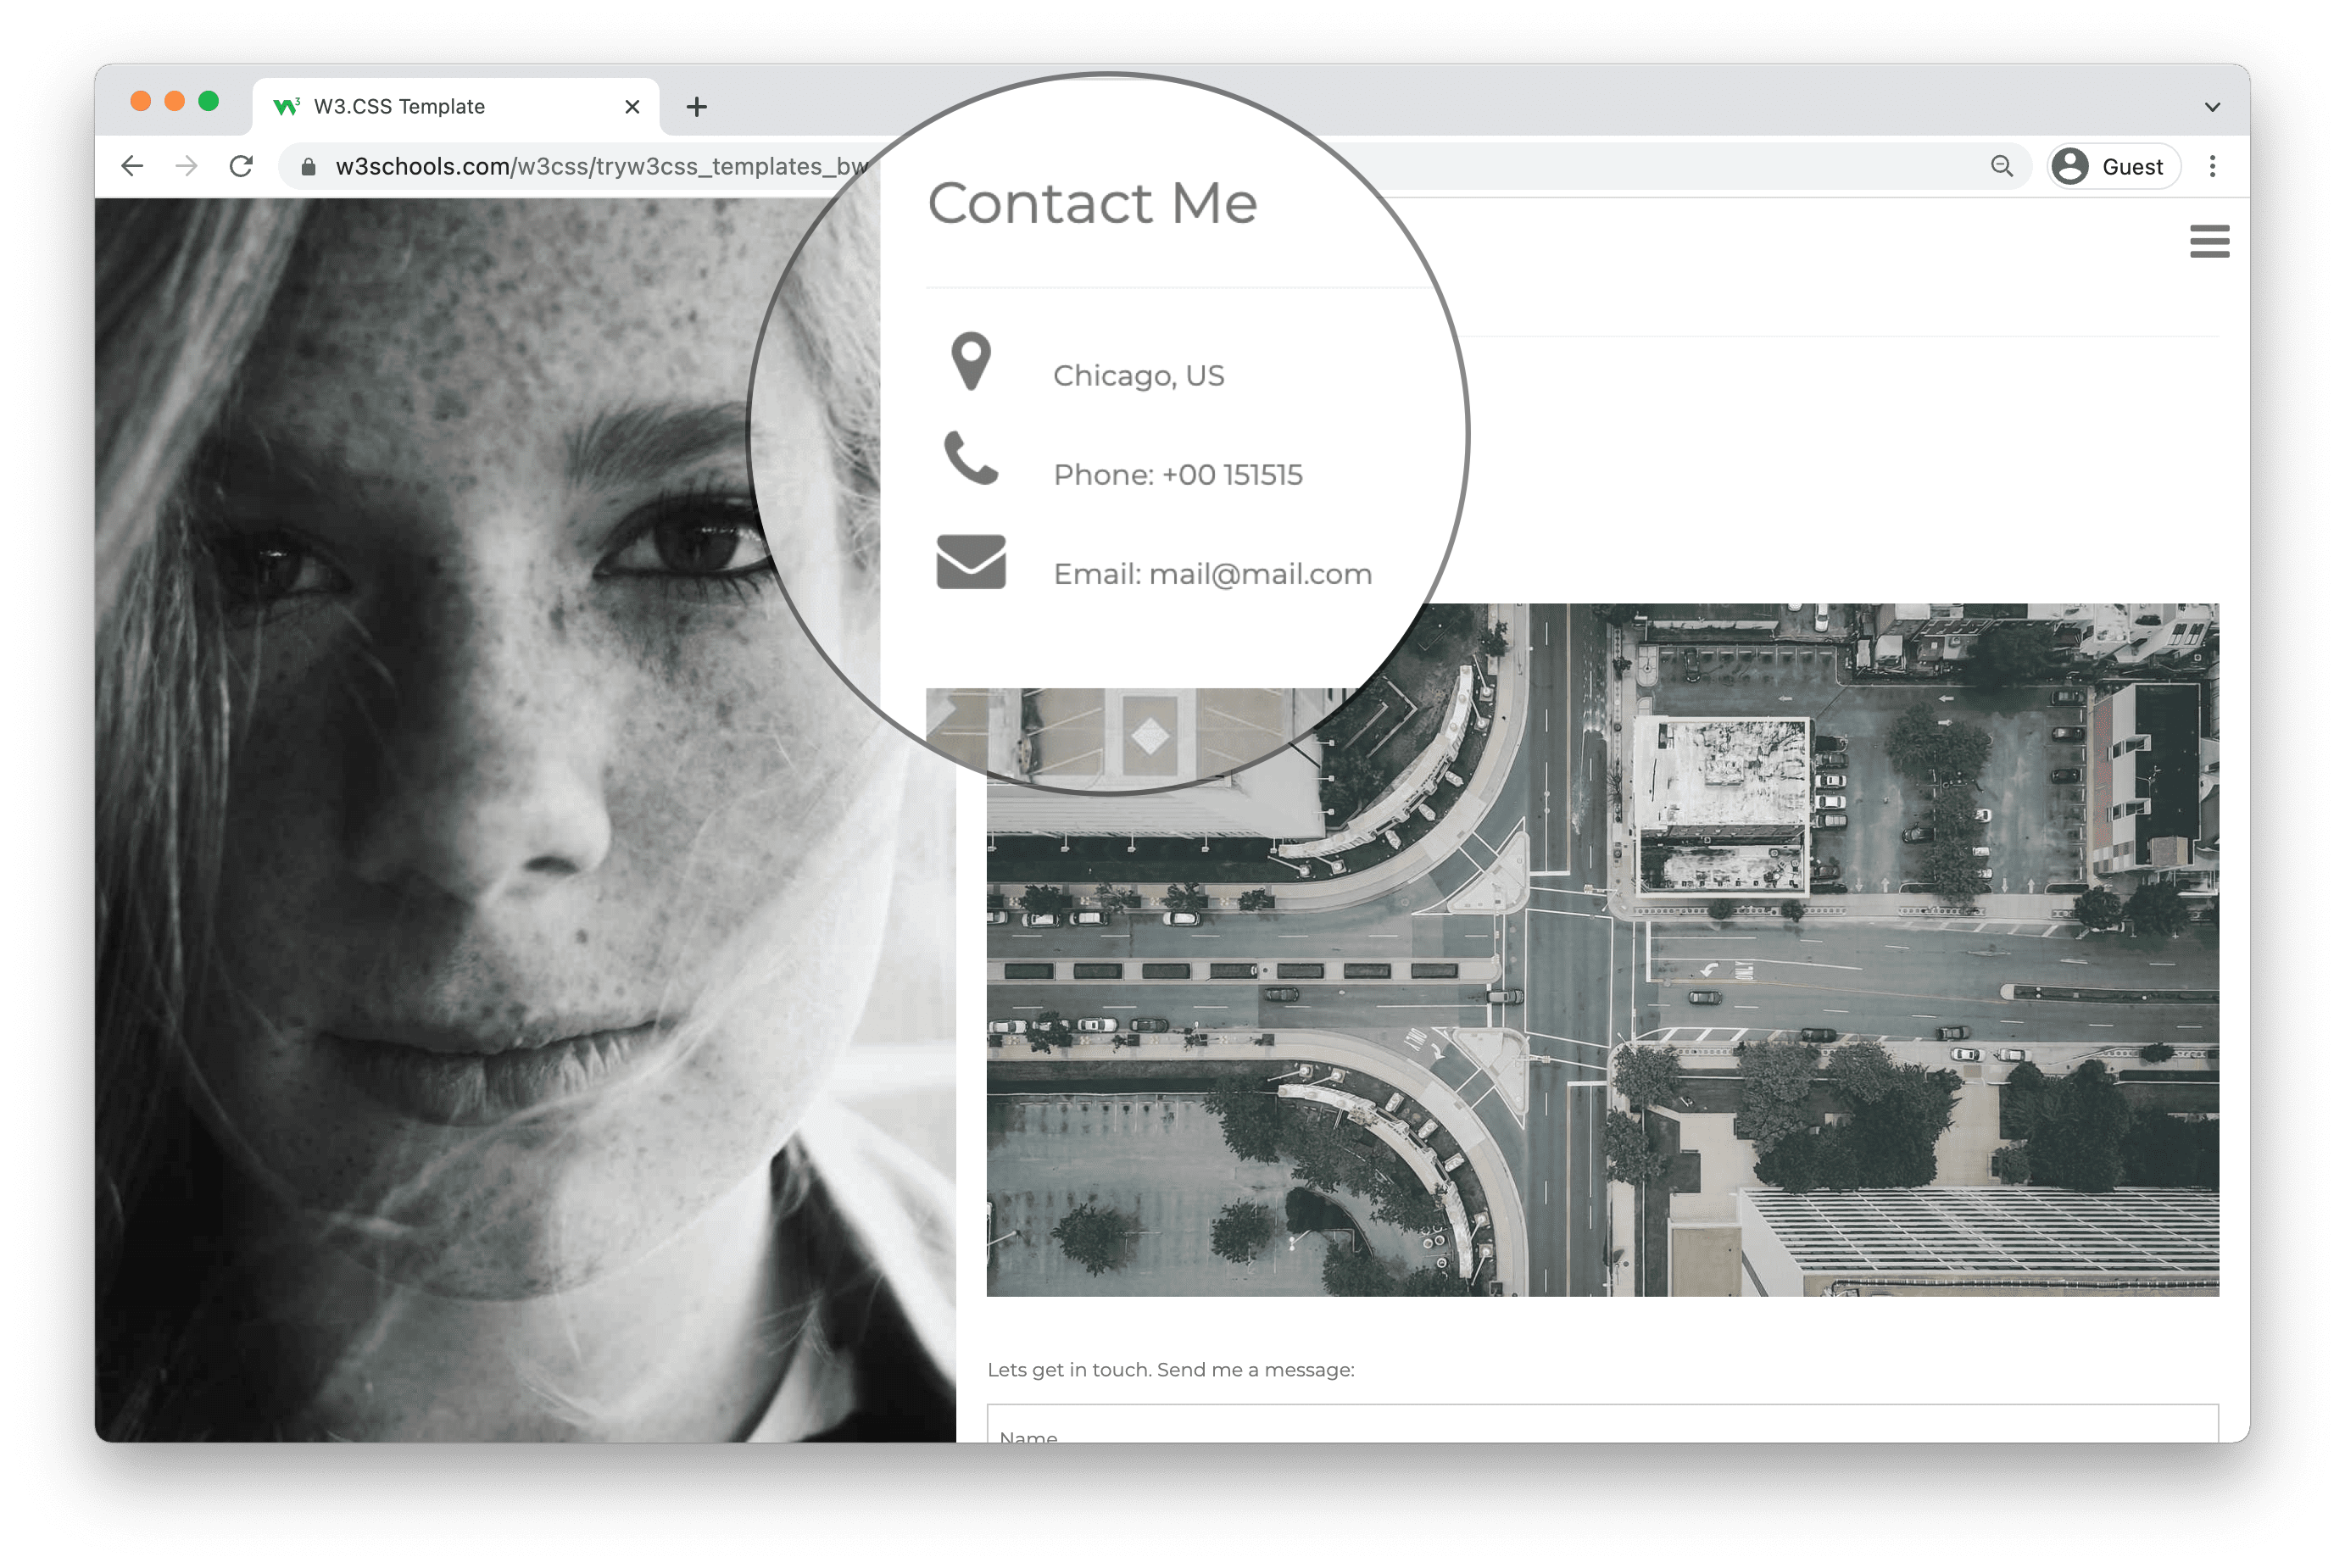
Step Six: Add Contact section
The contact section is the section that lets your visitor get in touch with you.
You should always include a way for visitors to contact you, either through a contact form or by writing down your contact information such as:
- Address
- Phone number
- E.g. Github profile, LinkedIn profile, Youtube profile and so on.
Here is an example on how to create a basic contact section: How to create a Contact section
Step Seven: Add Footer section
The footer can be experienced as a minor section, but it is an important one of every website.
It is about showing critical information based on your website goals and the needs of your visitors.
Often it contains technical information about copyright, but it can hold other information, such as:
- Link to "Privacy policy" page
- Link to "Terms of use" page
- Contact information
- Website navigation links
- Links to social networks
- Link to your shop
Here is an example on how to build a footer section: How to create a Footer section